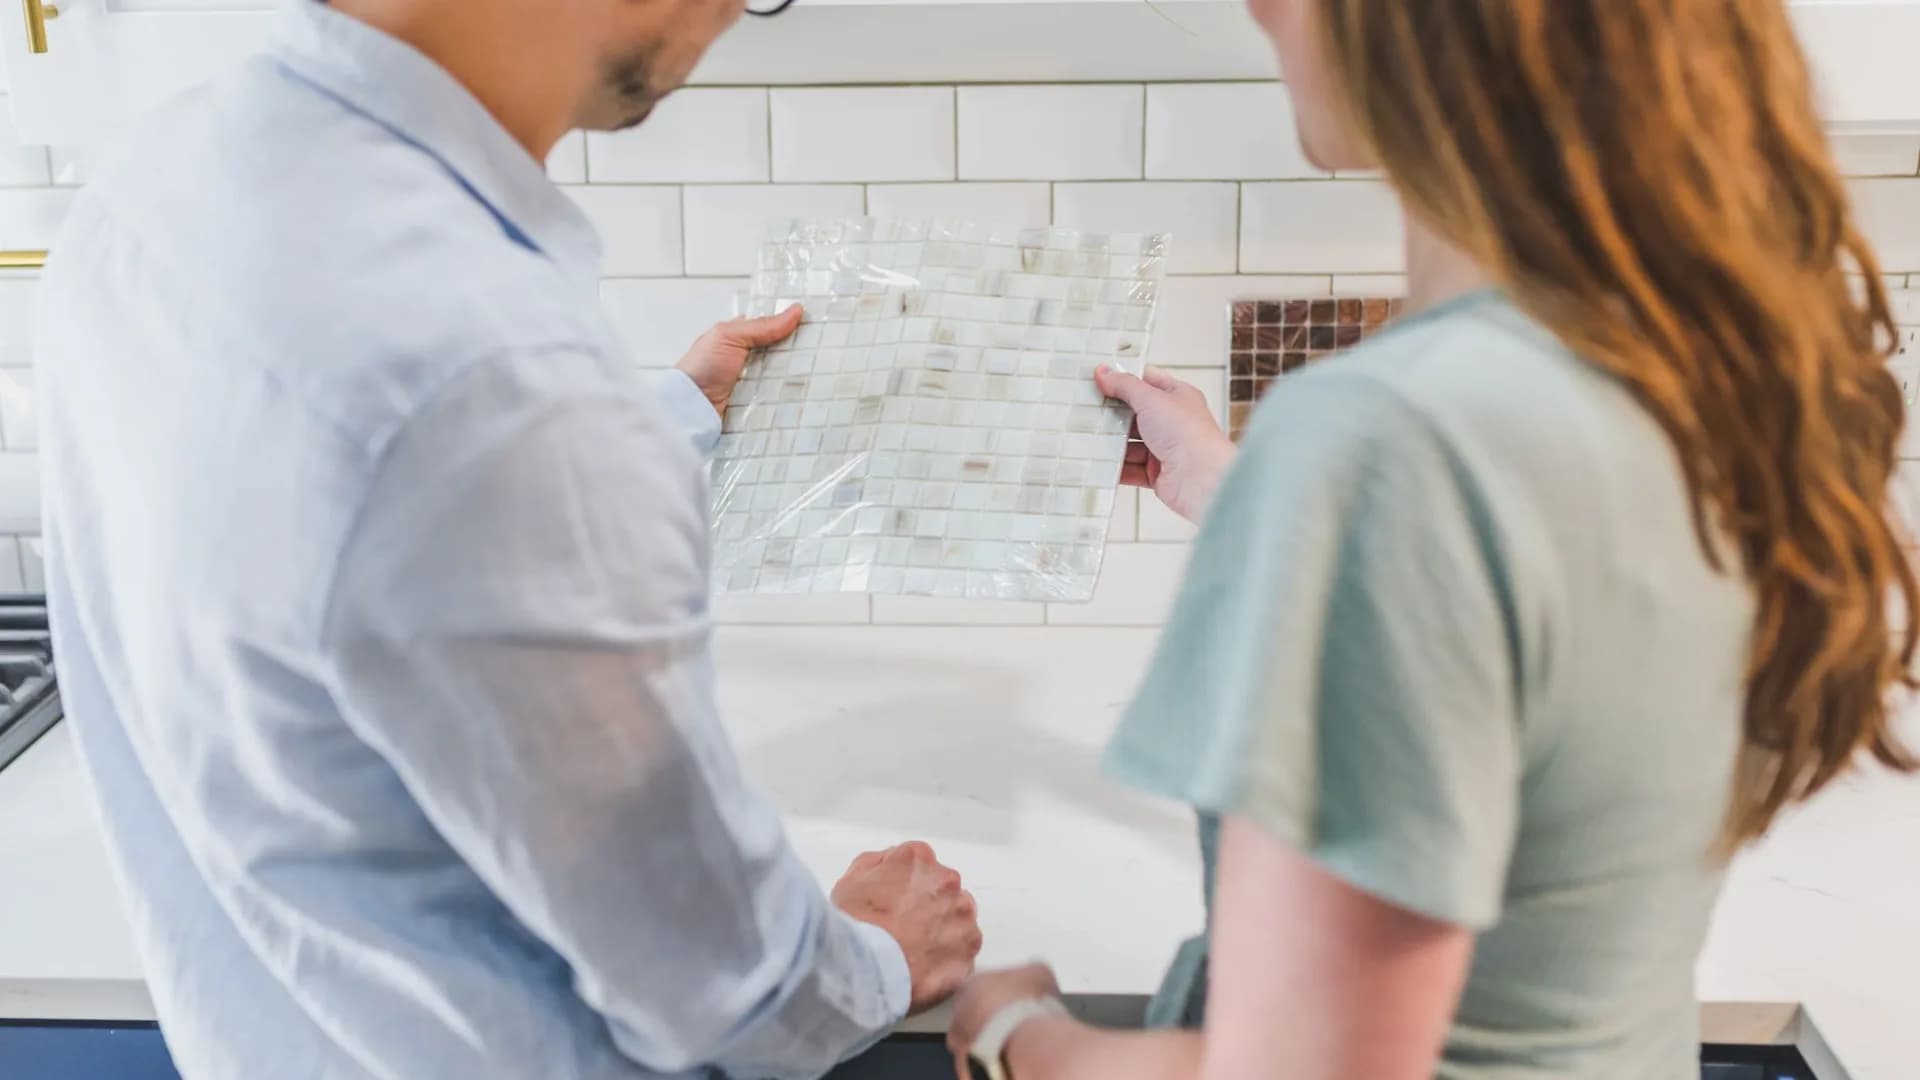
A new backsplash is one of those upgrades that can make a kitchen look pulled together without tearing the whole room apart. Still, the actual backsplash installation process involves more than sticking tile to a wall and calling it a day. Outlets, uneven drywall, grout curing, condo rules, and the fact that dinner still needs to happen all matter.
Here’s what Toronto homeowners can generally expect when they hire help for a tile or panel backsplash. Whether you are replacing a dated mosaic, repairing a loose section, or starting from bare painted wall, a little prep keeps the job from becoming a kitchen-sized game of Tetris.
Before the visit: scope, materials, and a clear plan
Before booking, decide whether this is an install/replace, a repair, or an assessment because you are not quite sure what is hiding behind that old tile. Photos of the wall, outlet locations, corners, the range area, and the countertop edge help a pro estimate the job more accurately.
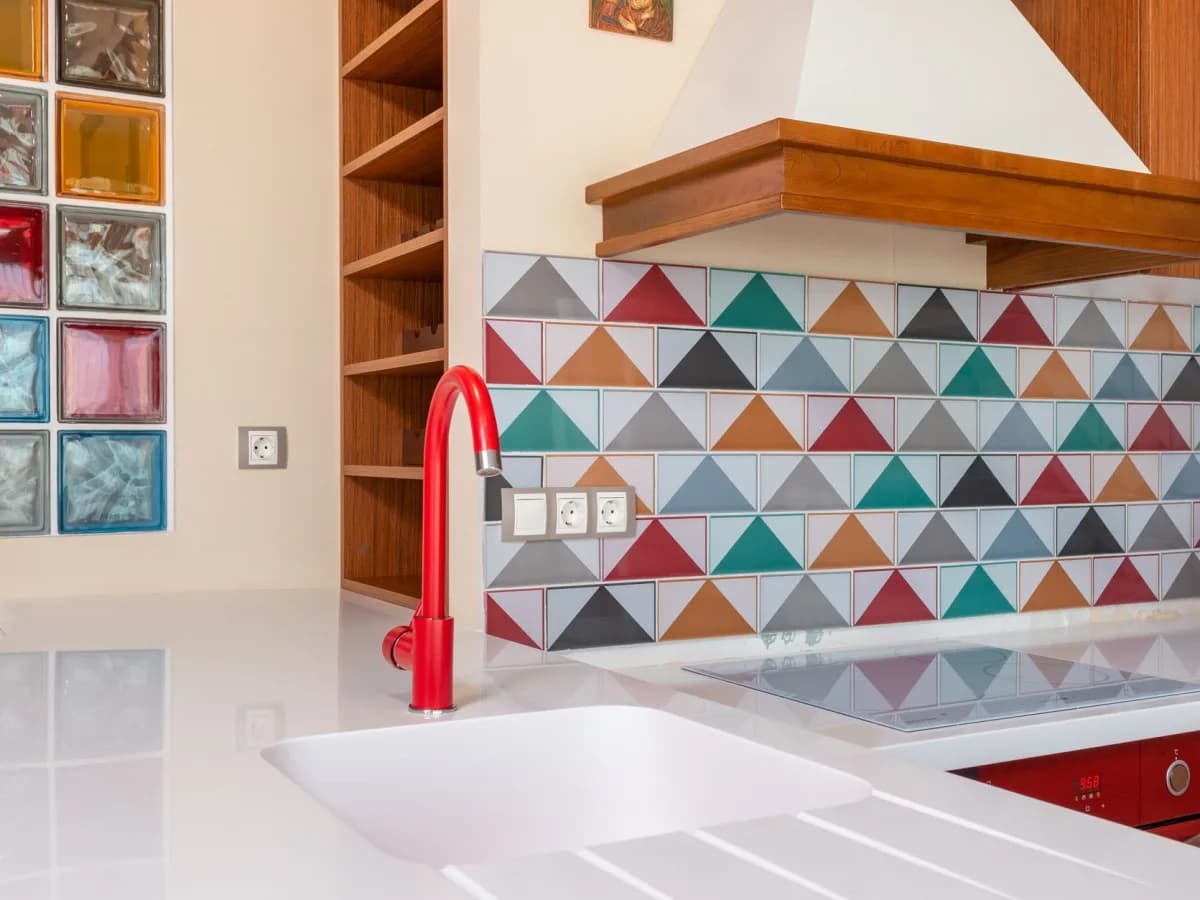
For a typical installation, have the tile or panels selected if you can. Confirm the pattern, grout colour, trim pieces, and where the backsplash should stop. A herringbone layout and a basic subway-tile layout may cover the same square footage, but they do not take the same amount of cutting. Geometry: still showing off after all these years.
Ask who is supplying adhesive, grout, spacers, edge trim, and caulk. If you are comparing options, this Backsplash Installation Cost in Toronto: Pricing Guide can help you think through the materials and labour involved. For help finding someone for the job itself, see Backsplash Installation in Toronto: Hire Local Pros.
In Toronto condos, check building rules before confirming a date. Some properties limit work hours, require elevator booking, or ask for contractor documentation. It is much easier to sort that out before boxes of tile arrive in the lobby.
How to prepare your kitchen or bathroom
Clear everything off the counters and make room near the work area. Move small appliances, utensil crocks, coffee machines, and anything breakable. Pros need a clean path for tile saws, mixing buckets, and cuts—not a slalom course around the espresso machine.
A practical prep list:
- Remove wall art, plug-in lights, and magnetic knife strips near the backsplash.
- Empty the counter space and protect nearby items that cannot be moved.
- Keep children and pets out of the work zone; tile cuts and adhesive are not team sports.
- Make sure the installer can access water, power, and a spot to stage materials.
- Tell them about loose drywall, previous water damage, wavy walls, or any suspected mould before work begins.
Outlet and switch cover plates usually come off during the work. The power should be shut off before electrical components are handled. If outlet boxes need to be moved or extended to sit properly over the finished tile, that may need separate electrical work; verify the scope rather than hoping the wall will negotiate.
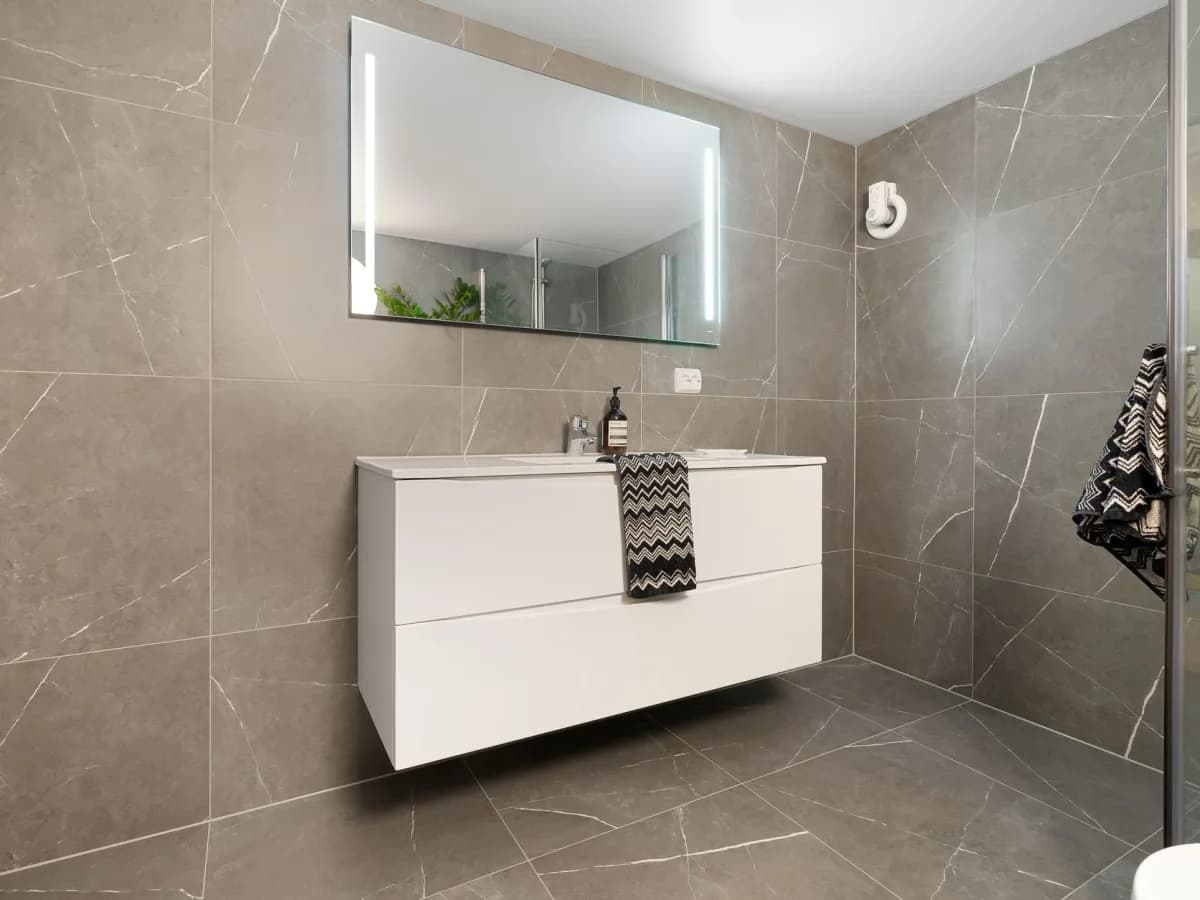
For a bathroom backsplash or vanity wall, existing moisture damage is worth addressing first. Related wall and fixture issues may call for Bathroom Repairs in Toronto: Hire Local Pros, while failed joints around wet areas are often a separate Bathtub & Shower Caulking in Toronto: Hire Local Pros job.
What happens on site during installation
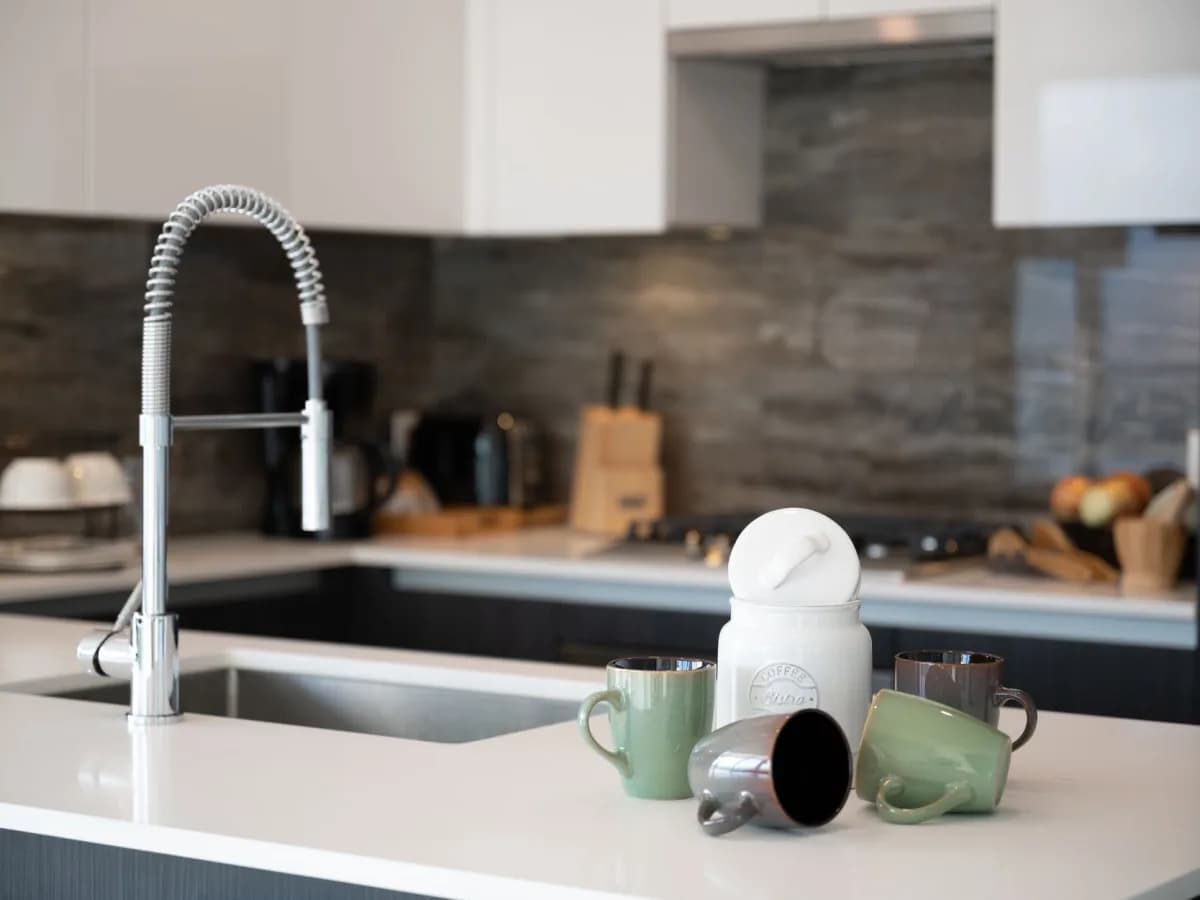
The installer normally starts by protecting counters and floors, checking the wall for flatness, and confirming the final layout. This dry planning step matters. It helps avoid skinny tile strips at the end of a run or a pattern that lands awkwardly around an outlet.
If old backsplash material is coming out, removal happens first. Expect dust and some noise, especially when tile or hardened adhesive is involved. The wall may need patching, sanding, or a suitable backer surface before new material goes up. A pro should flag significant wall damage or moisture concerns rather than covering them up. Fresh tile is lovely; concealed trouble is less charming.
Next comes layout, cuts, and installation. Tile is set with the appropriate adhesive and spacers to keep joints consistent. Panels are measured and cut carefully around outlets, windows, cabinets, and range hoods. Edge trim may be installed where the tile ends. Once the adhesive has set enough, the joints are grouted and perimeter gaps are generally finished with flexible caulk where appropriate.
Cabinet doors and hardware can make tight corners trickier. If hinges, pulls, or cabinet boxes need attention before tile reaches the wall, Cabinet Repair / Hardware Installation in Toronto: Hire Local Pros may be useful to arrange alongside the backsplash work.
Timeline, curing, and follow-up
A small, straightforward kitchen backsplash can often be installed in a day, but the full timeline depends on demolition, wall prep, pattern complexity, material, drying time, and how many outlets or tricky cuts are involved. Large-format tile, natural stone, glass tile, and detailed patterns commonly need more careful handling.
The setting material usually needs time to cure before grouting, and grout or caulk also needs time before heavy cleaning or regular water exposure. Your installer should give you product-specific guidance. As a safe habit, avoid scrubbing the new surface, leaning appliances against it, or splashing it heavily until they say it is ready. The backsplash has just been born; no need to hand it a sponge and a shift at the sink.
At the final walk-through, check that tile lines look intentional, outlet covers sit properly, grout joints are filled, trim is secure, and counters are clean. Save a few extra tiles and a small labelled sample of grout for future repairs. If a tile cracks years down the road, you will be very pleased Past You did not throw every spare into the recycling bin.
If the request is urgent because tiles are loose near electrical outlets, a wall is wet, or you suspect a leak, mention that when requesting help. The priority may be making the area safe and finding the moisture source before installing anything new.
Getting matched with the right Toronto backsplash help
When you request backsplash installation near me, include the approximate wall size, material type, whether old tile needs removal, your preferred timing, and a few well-lit photos. Mention condo access limits, parking realities, or if you need work completed within a week. Toronto logistics are a real part of the job, right up there with grout colour debates.
For a standard install, look for a pro who is comfortable with your material and layout. For an uncertain repair, water-stained wall, or damaged substrate, ask for an assessment and describe what you can see. Clear details help match the work to the right scope and make quotes more useful from the start.
You do not need to know every adhesive name or tile-cutting trick. You just need to explain the goal, flag the unknowns, and leave enough room on the counter for the people doing the careful part.