
If you're looking to get some caulking done in your Toronto home, you might wonder what that actually involves. Honestly? I’ve been there, wondering how hard it can be to slap some caulk on and call it a day. Spoiler alert: sometimes it is that easy, but often it takes a bit of finesse. This guide gives you the lowdown on what to expect from the caulking and sealing process in your home, from prep work to post-job follow-ups. Let’s dive right in!
Before the visit
Before your caulking pros swing by, there are a few things to consider. First, identify where you need caulking the most. The classic hot spots are:
- Bathroom: Think tubs, showers, and sinks. Water can be sneaky, and worn-out caulking can cause leaks or mold.
- Kitchen: Around sinks and countertops, this is often where the action happens (and sometimes spills).
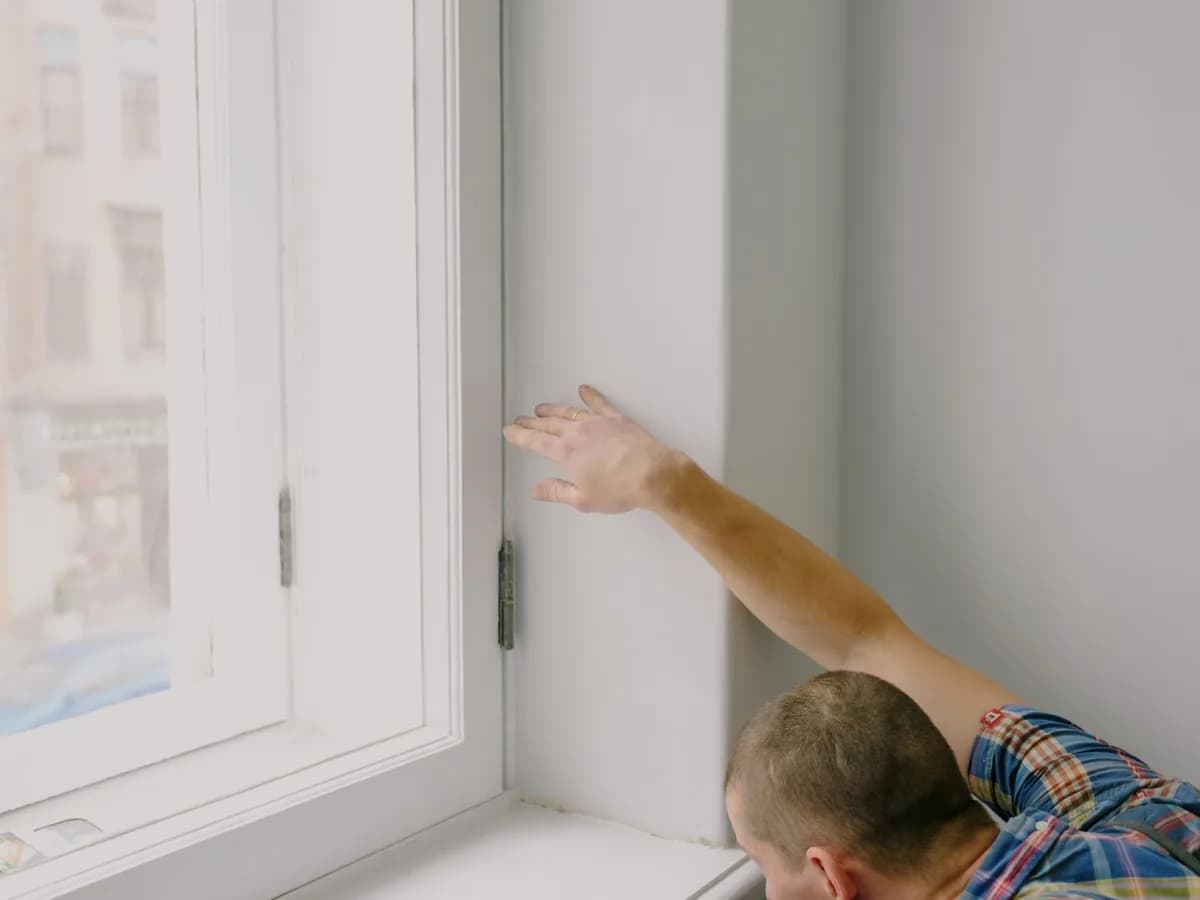
- Windows and doors: Caulk here can prevent drafts and save you a few bucks on heating.
Next, make a plan. Set a date and decide how soon you need help. The urgency level can influence availability.
On-site steps
Once the pros arrive, they typically follow a clear process:
- Inspection: They'll check the areas you indicated to see what needs to be done and assess the condition of existing caulking.
- Preparation: Out with the old! They’ll remove any damaged or cracked caulk before applying new. Expect some scraping—it’s not glamorous, but necessary.
- Application: Pros will clean the area, apply caulk with precision, and make sure it’s done right. No one wants to redo this work!
- Finishing: The final touch might involve smoothing the new caulk and cleaning up any mess made in the process. The last thing you'd want is excess caulk splattered around!
While it sounds straightforward, having a pro handle it ensures you get a neat finish and proper sealing that can last years (if done right!).

Timeline and follow-up
The caulking and sealing process generally doesn’t take long—expect around 1-3 hours depending on how many areas need attention. Afterward, there’s usually a 24-hour wait before anything is exposed to moisture to let that caulk properly cure. It’s like waiting for paint to dry—but more critical!
How to prepare your home
Preparation is key, even when you’re not the one doing the work. Here are some things you can do:
- Clear the Area: Move items away from the walls or fixtures that need caulking. Nobody wants to spill caulk on their favorite sponge holder!
- Provide Access: Ensure that the pros can access the affected areas easily. That might mean moving furniture or decorations out of the way. Trust me, it saves time and frustration.
- Communicate: Before the work begins, be sure to tell them about any special concerns or areas that are particularly troublesome.
Once everything is set, you can let the professionals do their thing while you kick back (or tackle that overflowing laundry basket in the meantime).