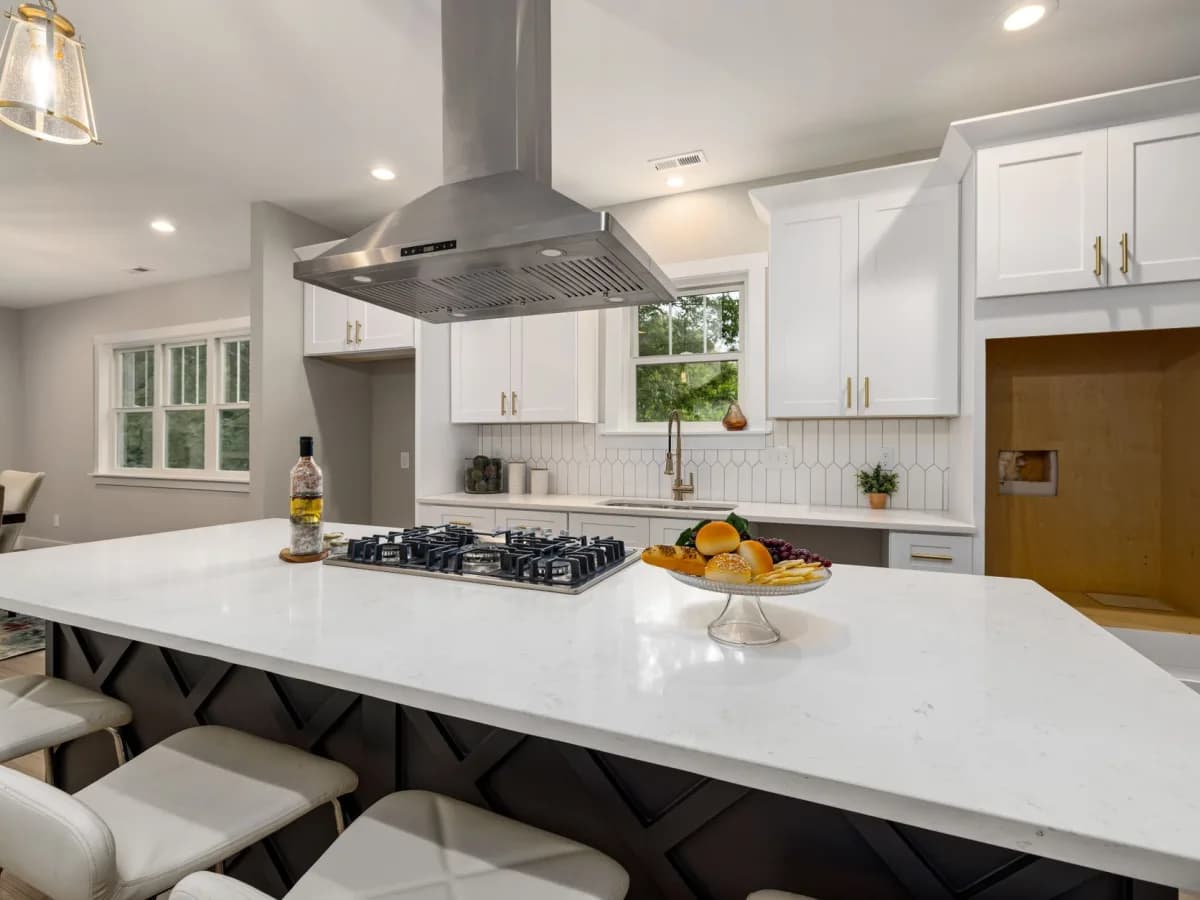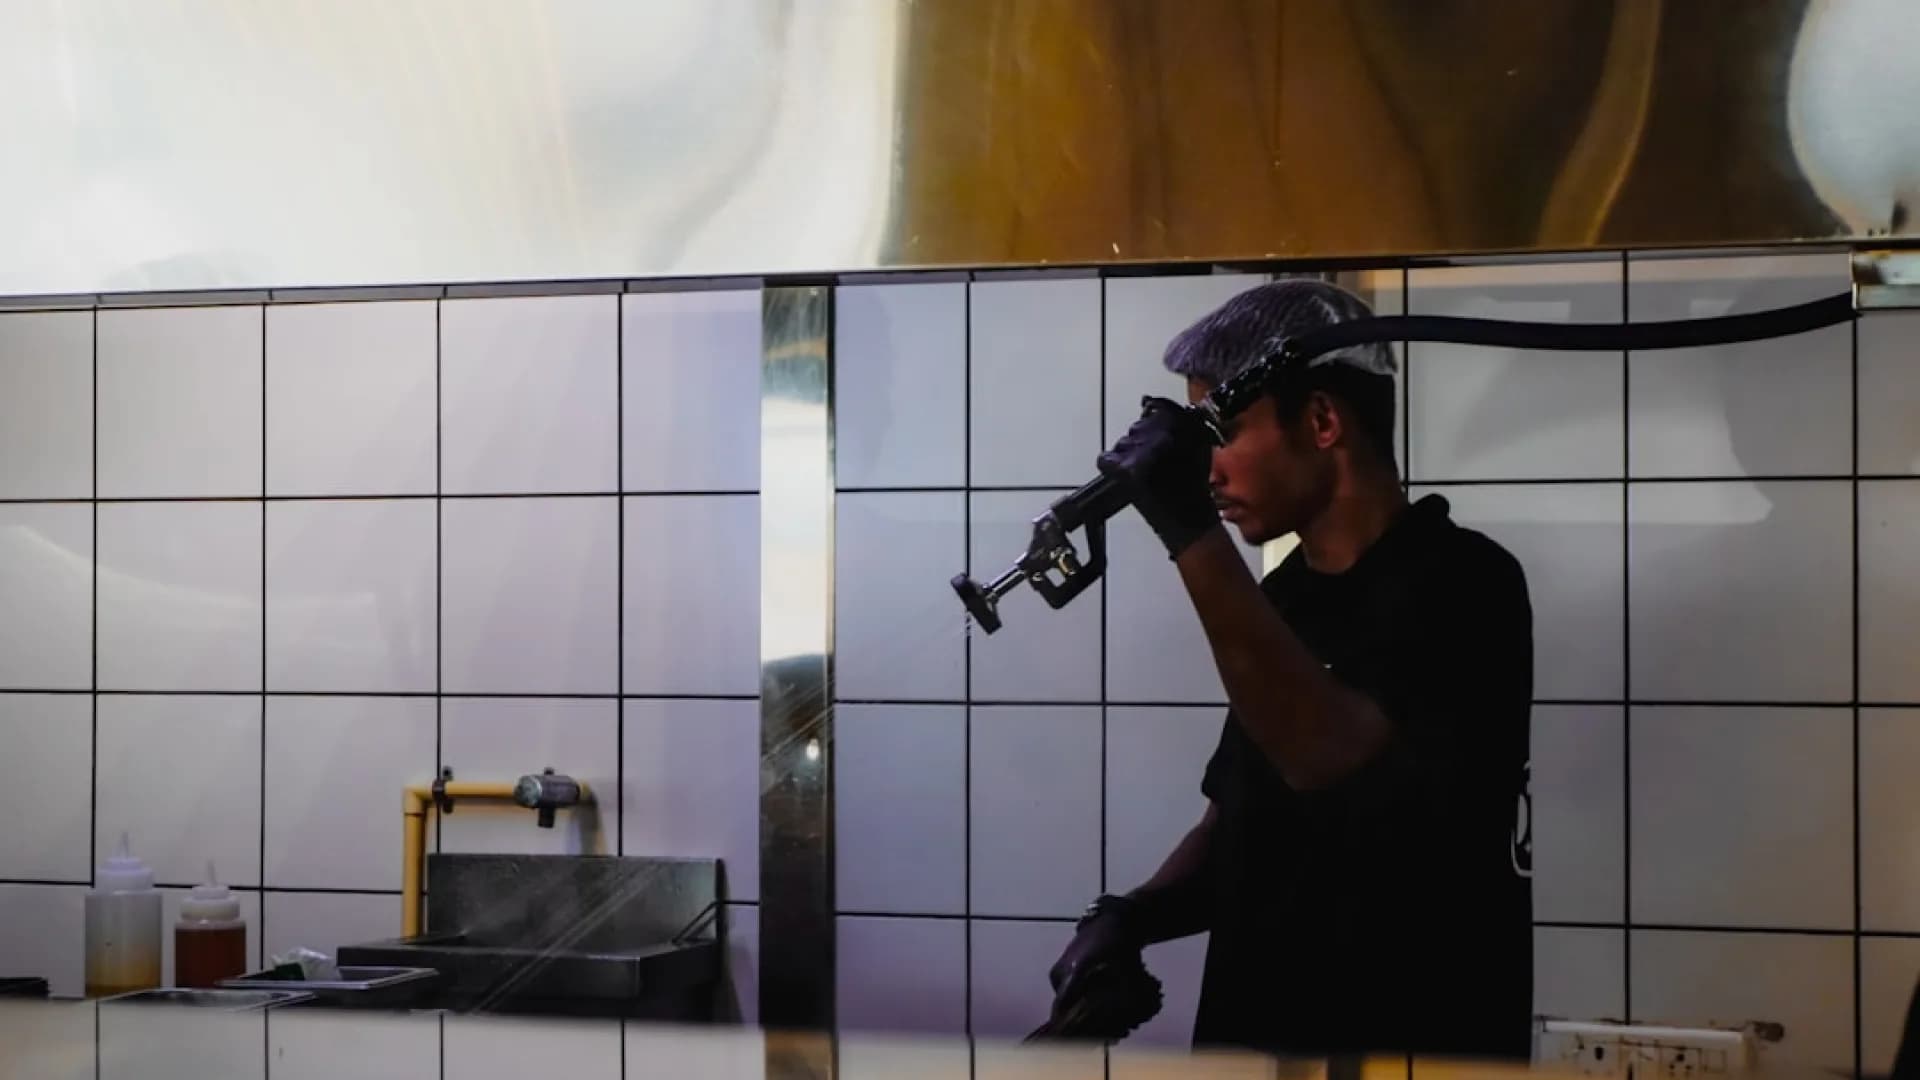
So, you’re thinking about getting a range hood installed, huh? Smart move! Not only does it keep your kitchen fresh and air clear of smoke, it can prevent some of that delightful burnt pizza smell from lingering (trust me, I’ve been there). Let’s break down the range hood installation process so you know just what to expect when the pros show up at your door.
Before the visit
First off, the pro will need to assess your current kitchen setup to make sure everything is up to snuff. They'll check things like the power supply, venting options, and installation space. Having all your appliances and cabinets kicked into gear means you’ll avoid any surprises later (like finding out the hood is too big—yikes!). Make sure to clear the area so they have easy access.
Also, it’s key to have a good chat about what you need. This is when you can throw out any concerns, ask about types of hoods, and go over materials. If you’ve got a funky setup, definitely communicate that. (You don't want them to walk in and say, 'Well, this is new!')
On-site steps
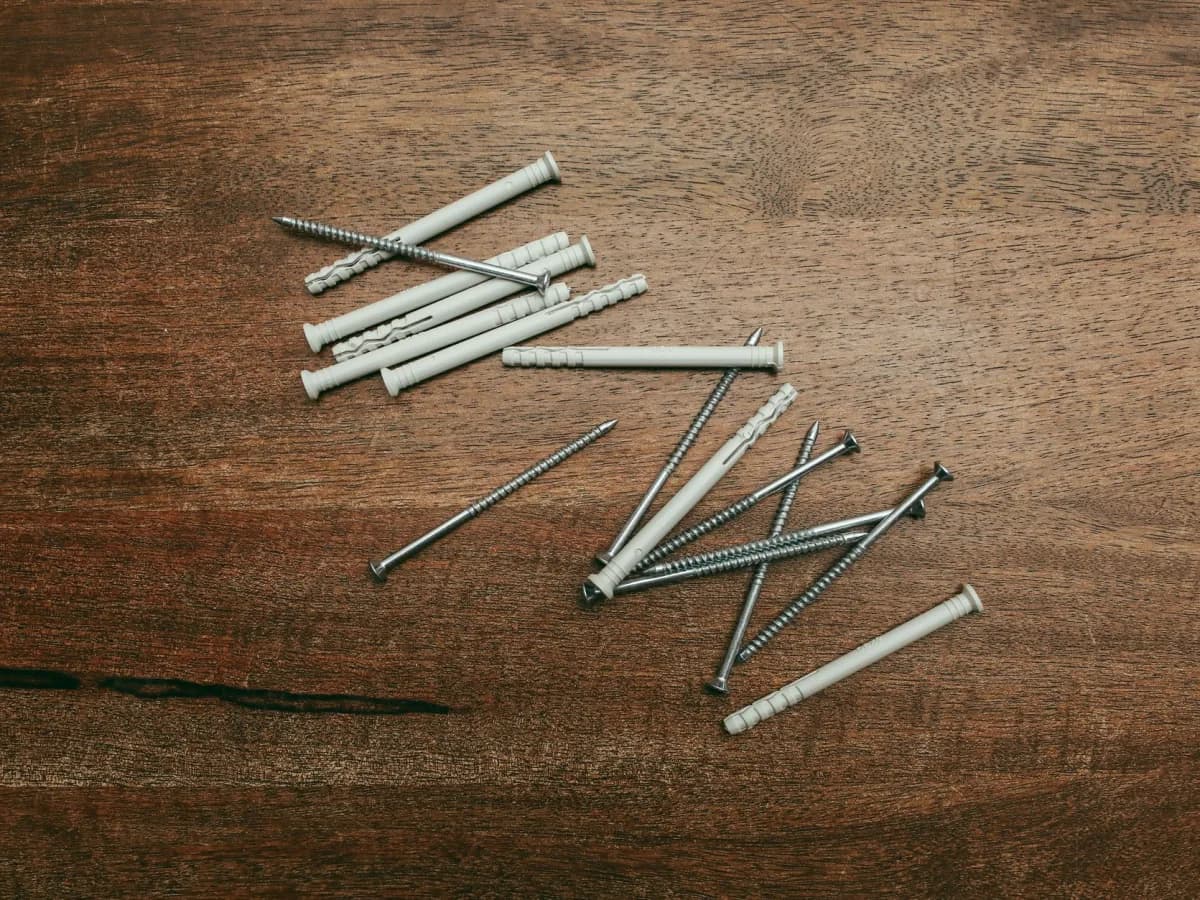
When the installation day arrives, the pros will start with some pre-work. They’ll turn off the power to the area where they'll be working—safety first! After that, they’ll remove any old hood or fans if necessary. If you're as handy as I am, you know not to touch anything red when fixing stuff.
Once the old stuff is out, the new range hood goes in. They’ll connect it to the ducting (if that's how you go), hook up the electricity, and secure it properly. Expect some noise, but hey, that’s just the sound of progress. You might even want to grab a coffee and wait it out—no shame in that.
Timeline and follow-up
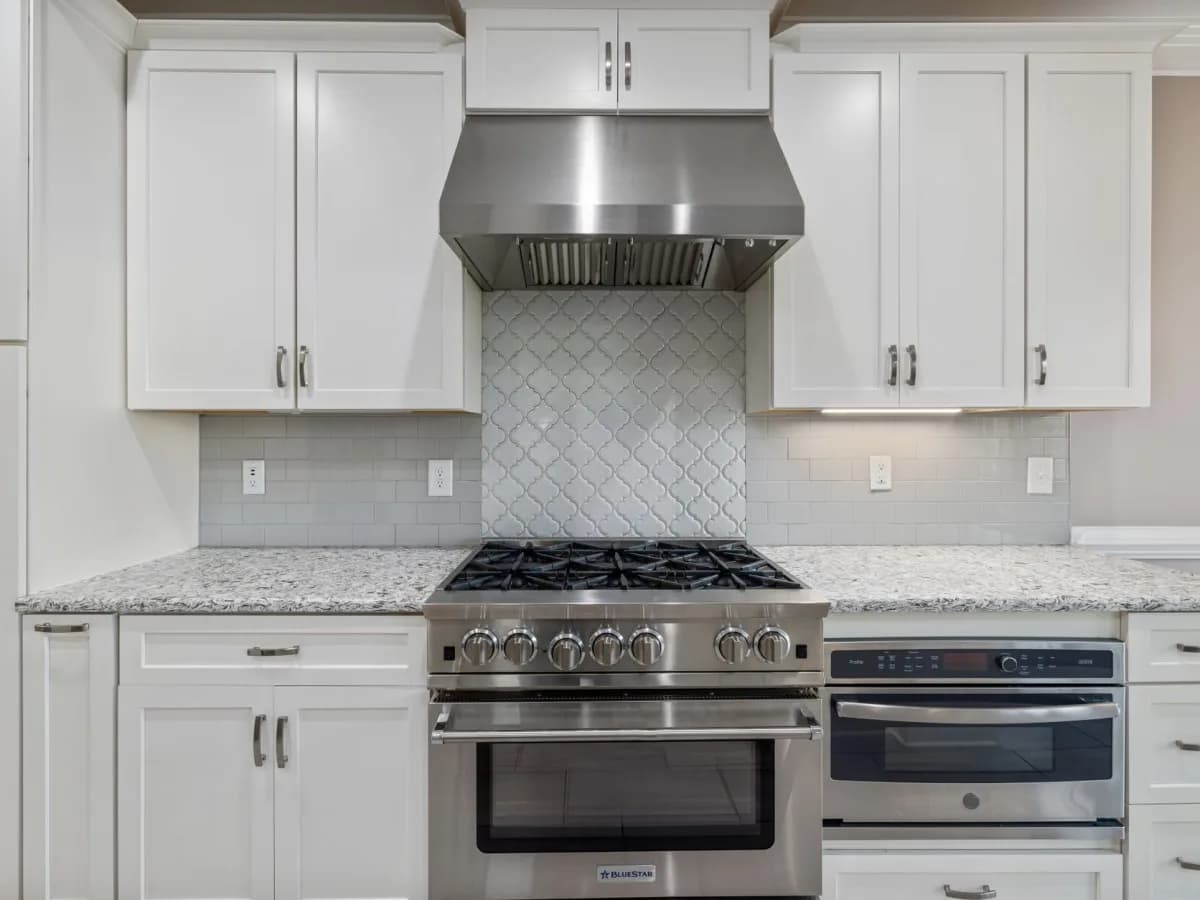
Typically, the installation can take between 2 to 4 hours, depending on how tricky the job is. If they find something that complicates things (like ancient wiring—how's that for a plot twist?), it might stretch longer. It’s always smart to ask the pro for a better idea once they start, but being patient is key.
Once everything’s done, they’ll make sure the hood is working properly before they leave. You’ll want to go over the key functions with them. Just think of it as a mini-tutorial on how to not create a smoky kitchen. (No, not that kind of smoky!)
How to prepare your home
Before the pros show up, tidy up the kitchen and surrounding area. Move any furniture, plants, or appliances that might block access—they appreciate the clear path and you’ll save time. If your kids or pets get a little too curious, it might be wise to create a no-go zone.
And speaking of zones, if everything’s in the way, it might lead to more time and costs. Not ideal! Have your questions ready so you don’t miss anything important. (Believe me, I’ve forgotten to ask about three-burner stove compatibility before—won’t make that mistake again!)
After all that’s done, sit back and relax while the pros handle it. There’s always a bit of stress with home improvements, but knowing what to expect helps you breathe easier. Plus, this is a chance to finally put that pizza in the oven without setting off the smoke alarm!